
This article Paul Jermy shows how to fabricate or Replace the MB GPW WWII rear floor which is commonly rusted out.


|
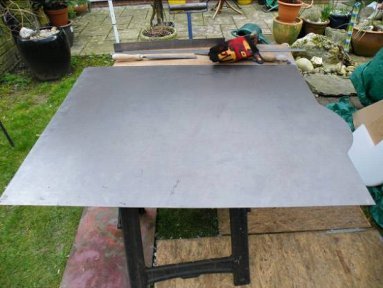
1. Following the Jeep Draw plans (and checking your existing floor if available) mark out the floor on a sheet of 18 gauge steel. I find it best to use a sharp scribe (pencil/markers give an inaccurate line & rub off to easily) Mark the openings for the shocks but do not cut them out yet as the floor tends to flex at the opening and it’s easy to put an unwanted bend in. Following the golden rule - measure twice cut once double check everything and then if all is still ok cut the panel to shape. Try and use a guillotine for the straights and a pair of aviation snips for the curved bits. |
|
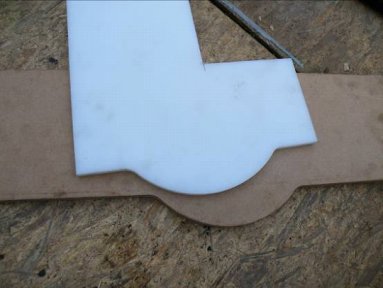
2. The hardest part of the panel is the curved front edge. To form this cut 2 formers – one from MDF & the other from a hard nylon. These are used to sandwich the panel so the edge can be formed |
|
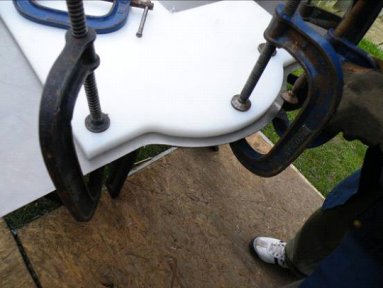
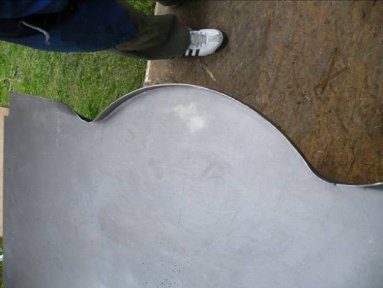
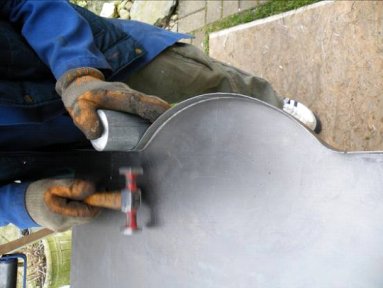
3. With the panel securely clamped between the formers the edge can be formed. As the outer edge of the curve is longer it needs to be shrunk as its folded upright. If you to try to bend it in one go the edge will wrinkle up. The best way is to slowly work the whole curve with a hammer & block lifting it a few degrees at a time. The lower MDF former should stop the panel distorting and the upper hard nylon block should give you a good edge to hammer against. It normally takes me 15-20 minutes to form the edge. |
|
4. Once the edge is formed the straights can be folded , there are a number of ways of folding an edge – Here the preference is to use a flypress and veeblock |
|
5. Once the edges are folded, use a circular aluminum block and hammer to make any fine adjustments. |
|
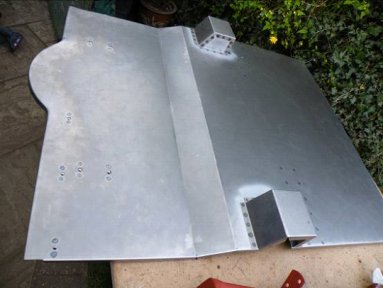
6. Once all the folds including the central step have been added cut out the shock mountings. The corners of these cutouts have a large radius, the easiest of producing these is to use a "Q-MAX" punch, these are quite cheap and produce a clean finished hole very quickly. The additional holes for the mountings, footrests etc can now also be drilled in the floor. Once the corners are punched its just a simple matter of cutting the straights - Use a jigsaw with a fine metal blade and then file to the line , tin snips tend to give a curled edge that needs more work to finish. |

|
7. The next stage to make the rear crossmember. This is just a strip of steel that's folded into a channel. The two important things to remember when making this is that you need to adjust the measurements from the drawings to take into account the metal thicknesses on the folds and to plan ahead how you are going to make the folds. Using a vee block I need to make the two outside folds first - if you fold the inners first you cannot fold the outer's. |
|
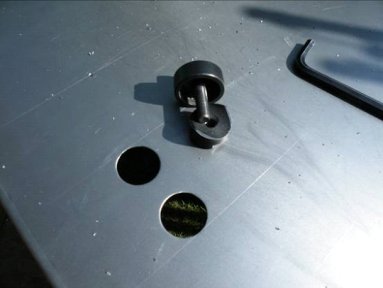
8. The crossmember has an oak block inside it , a minor change I made to mine was to fit a stainless steel spacer at the bolt hole – its invisible from the outside but will not compress when the floors bolted the frame. |
|
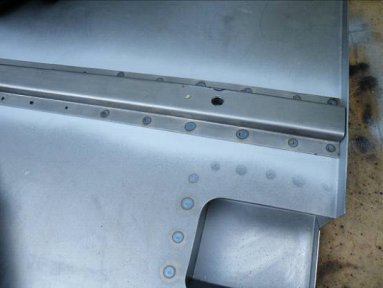
9. The crossmember can now be attached to the floor , use a spot welder but if ones not available plug welding with a MIG will also work |
|
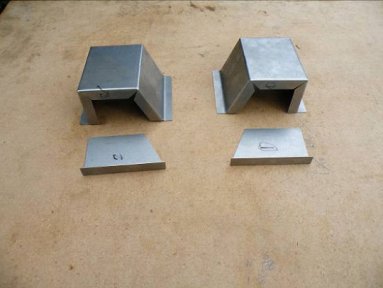
10. The shock mounting covers consist of a top and sides that are welded together and then attached to the floor again by spot welding if possible. |
|
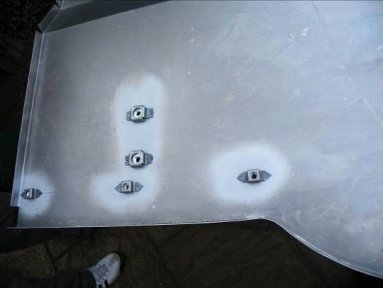
11. Putting the shock mounts and floor together is pretty basic, line up and spot weld. |
|
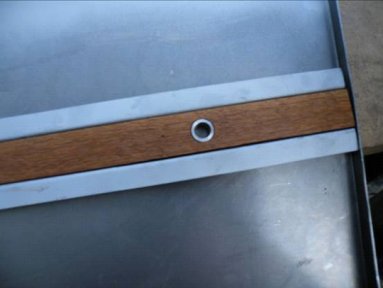
12. The only part left now is to add the captive nuts on the front corner , it is easier to purchase these, but you can make them if needed. The Jeep Draw drawing shows the measurements where these get placed on the floor. |
|
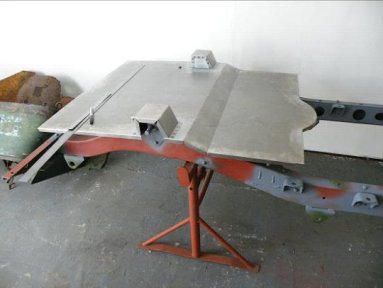
13. The floor is now ready for attaching to the rest of the tub! Hope this helps! |
