
This Article describes how modify your WWII Jeep Driver seat to allow more room. Applies to 1942,42,1943,43,1944,44,1945 Jeeps models


|
1. Enjoying your jeep driving is great, but comfort for a big guy 6 feet or tallker, and over 240lbs, can be a little cramped. Here are some steps to make a chair modification that will give you more leg and breathing room without modifying your wheel wells. Its a chair modification. |
|
2. The Driver Seat modification is pretty basic that anyone to do, and do in different ways. The basic idea, is to remove the round tube on the back support which takes up to 2-3in forcing your back forward. We want to utilize this room, but removing the round tube, bending the chair to incline more, and replace it with a flat bar for support. That simple. |
|
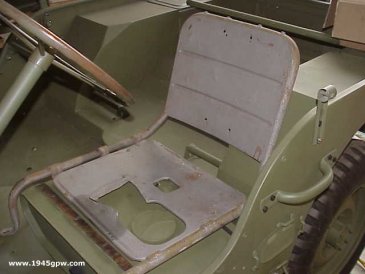
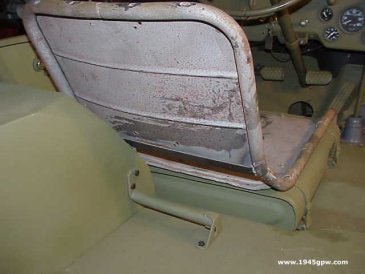
3. First, use a REPO chair or pick up an original chair that is damaged. In my case, I found an inexpensive original chair that was already damaged. My original F marked chair I now have in storage. |
|
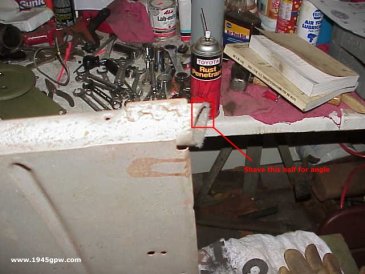
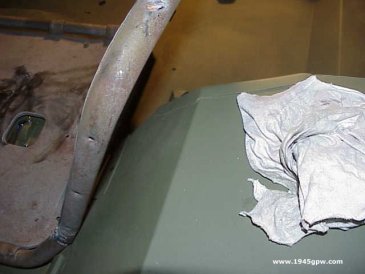
4. The first part of the modification is to remove the tube from behind the seat. Your going to shave off a little more on the driver side than the passenger side when the flat bar gets measured up. Start with this and you can adjust little later. After you do this, place the chair back into your jeep and you can see how much room you have to bend. |
|
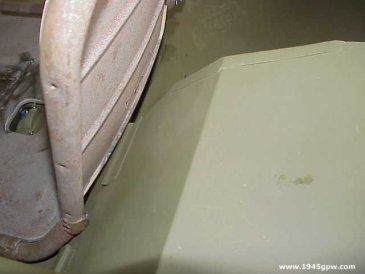
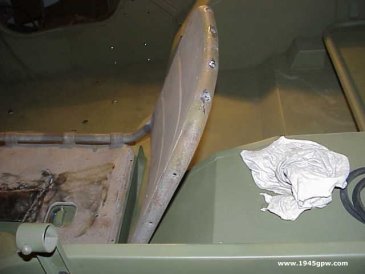
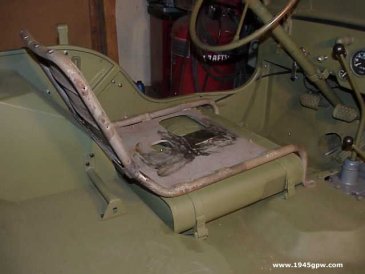
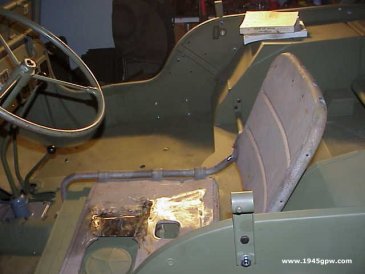
5. I placed the chair in the position after each stage just to be thinking of what the accomplished goal will be. Here you see how much room I have to bend the chair back, and where the flat bar will come across the wheel well. I have a good 3-4inches I can bend the chair back. |
|
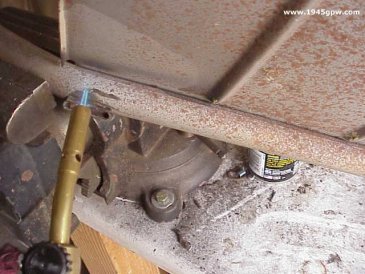
6. As you can see in this picture, I have a cheap butane flame. It DID NOT get hot enough, and I don't have oxy/acc tanks, so I decided to cut the chair and weld it back with my mig welder. |
|
7. I cut the chair at the angle of bend that would go right up the wheel well. After this cut, I placed the seat back in the jeep to take a look at the angle of the seat. It looked good, so now I will shave off a little of the top of the chair to continue the angle and tack the chair back together and verify. |
|
8. I took a grinder and shaved off the back half of the chair, to give it the incline i wanted. I only took off a hair to continue the angle of the bottom piece. |
|
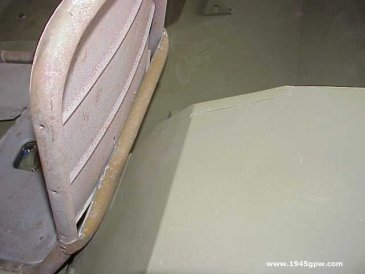
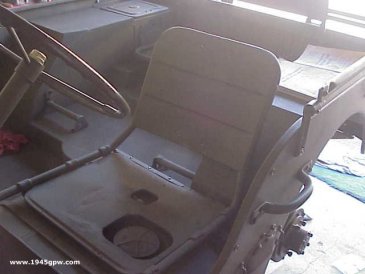
9. After tacking the two pieces back together, I set the chair back in the jeep to verify the angle. Notice how it has given be me a good 3-4in now because of the incline. I am content with the angle, so I will firm up the welding, and grind it up to look good. |
|
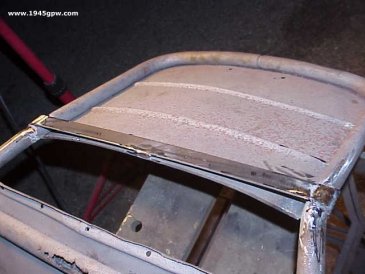
10. Here is another look at the angle. I don't have the flat bar sitting on the wheel well yet, but you get an idea on the angle is much better. This will give me more leg room, and I won't be sitting on my nuts! |
|
11. Now, take a piece of flat bar and start on the driver side of the seat and tack it in staight across the seat. |
|
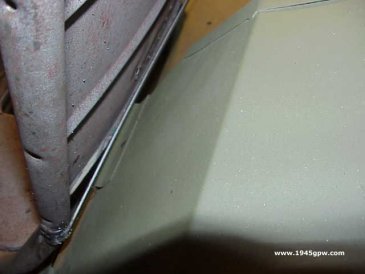
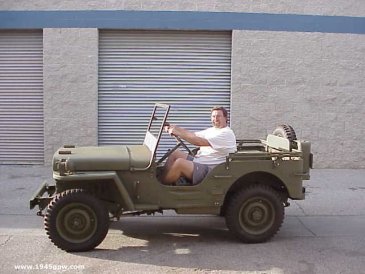
12. Before tacking in the passenger side, I wanted to look at the position to make sure it would land on the wheel well properly. I was looking to make sure the seat would be above the gas tank, and that it would sit on the wheel well for support. It does... so I can continue |
|
13. Another angle to look at... note, the flat bar will need to bow out a bit to sit on the wheel well nicely... we will resolve that when we tack in the passenger side of the flat bar. |
|
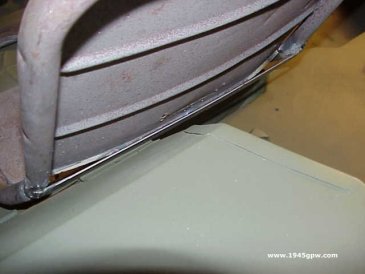
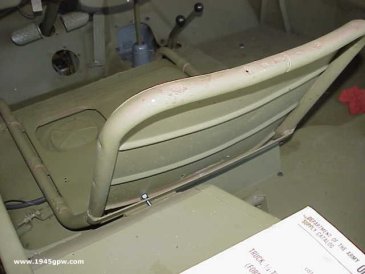
14. Now, we want a little "bow" in the bar to sit on the wheel well, so cut the flat bar a little long. Here you see I pried the flat bar out so it would fit on the passenger side and give it about 1/8in bow, and is tight. |
|
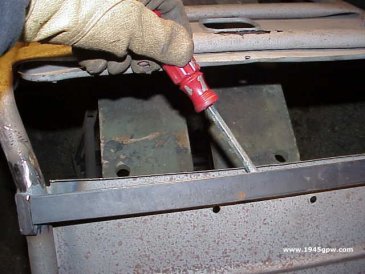
15. Her you see it sits on the wheel well nicely. If you look closely, you can see where the hole in the wheel well will have a bolt that will connect to the back of the flat bar and keep the flat bar on the support of the wheel well. Looking good. |
|
16. Here you can see the flat bar bowing out. This will work great sitting on the wheel well. So time to tack the flat bar in and check the fitting in the jeep. |
|
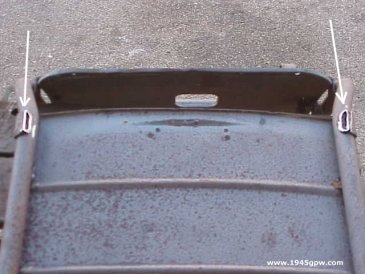
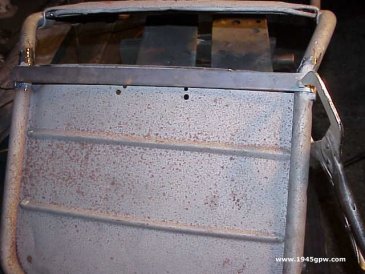
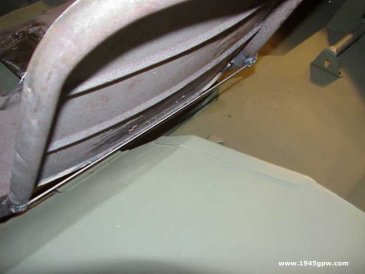
17. Here is a look at what the chair looks like from the back. Doesn't stand out. The jeep police will eventually catch it, but well worth the comfort of the drive. |
|
18. Another angle of the chair, you see that extra room is very nice. Unless you look for this modification, 99% of people will not even notice it when looking at your jeep. |
|
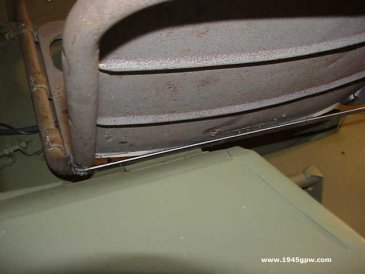
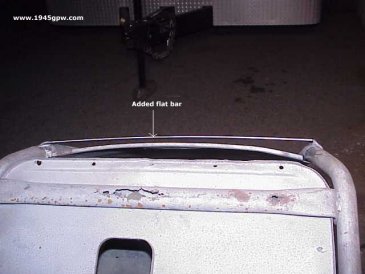
19. Here I finished welding the flat bar in. I also tacked in, for support a little section in the center to the back of the seat for additional strength. |
|
20. The final fit looks good. Now I need to fill some holes in the seat, drill the hole from the wheel well, and fit a nut behind the flat bar (original tube had a caged nut)... primer, paint and cover. |
|
21. Chair looks good in its position, so I need to primer and paint it to strap it in. |
|
22. Now that the chair is painted, I bolted in the front two bolts to the chair so I can mark and drill the hole in the back brace that connects to the wheel well. |
|
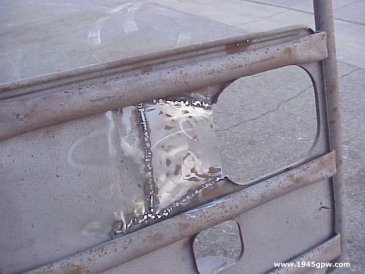
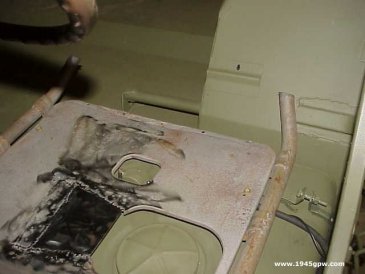
23. I marked the location that I needed to drill from the hole in the wheel well. I pulled the chair back out and drilled the hole as needed. Next, I put tank cover plate on (back of the driver seat, and then installed the chair, I tighted everything up and it looks good. |
|
24. That is it and you are done ready to enjoy a little extra room. The great thing about this modification is you really can't see it unless you specifically look for it. |
